


OLM Hikari Headlight Smoked / Black Out Overlays - 2015-2020 WRX / STI
Brand:
StickerFab
SKU:
15WRXOLMHLLS
Quantity:
Couldn't load pickup availability
Product details
OLM Headlight Smoked / Black Out Overlays
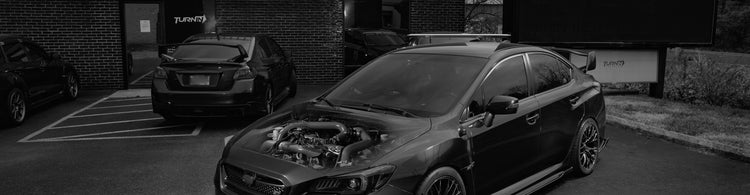
It's really neat that a simple overlay can transform the look of a vehicle. By smoking out the side of the OLM Headlights, you can get rid of the bright orange sidemarker. You can also make the large lens, less noticeable.
Covers the side and top of the headlight lens.
NOTE: Only fits OLM Hikari headlights. New for February 2021, we have added Black Out material. This material has air egress channels for ease of installation (helps prevents bubbles from forming).
INSTALLATION
You will want to keep a hair dryer or heat gun around for this installation. Wash your hands and clean the application area. Grab some soapy water (1 drop of dish soap or a little hand soap, plus a nice cup or bottle worth of water. In other words, more water than soap. You can apply this the back side of the overlay and the lens if you want. This allows you to move the overlay around and also squeegee out any air bubbles once you get it in the correct spot. We just use our fingers because we know that won't scratch the material.
Apply the overlay and align the larger portion. Once you have the aligned, check the smaller top area. Once completely satisfied, start pushing out the water and air bubbles. You can make small adjustments and force the vinyl to go exactly where you want it to go. That can be done even more easily with a little heat. You are basically correcting an initial alignment that was slightly off. Rule of thumb is that if you are burning your fingers, you might be burning the vinyl. Work your way toward the end of the top portion and push any vinyl down that is laying over the edge of the lens.
Benefits of working with us

Guaranteed Fitment
Always the correct part

In-House Experts
We know our products

Added Value
Mounting, Balancing

Worldwide Delivery
Free shipping on all orders